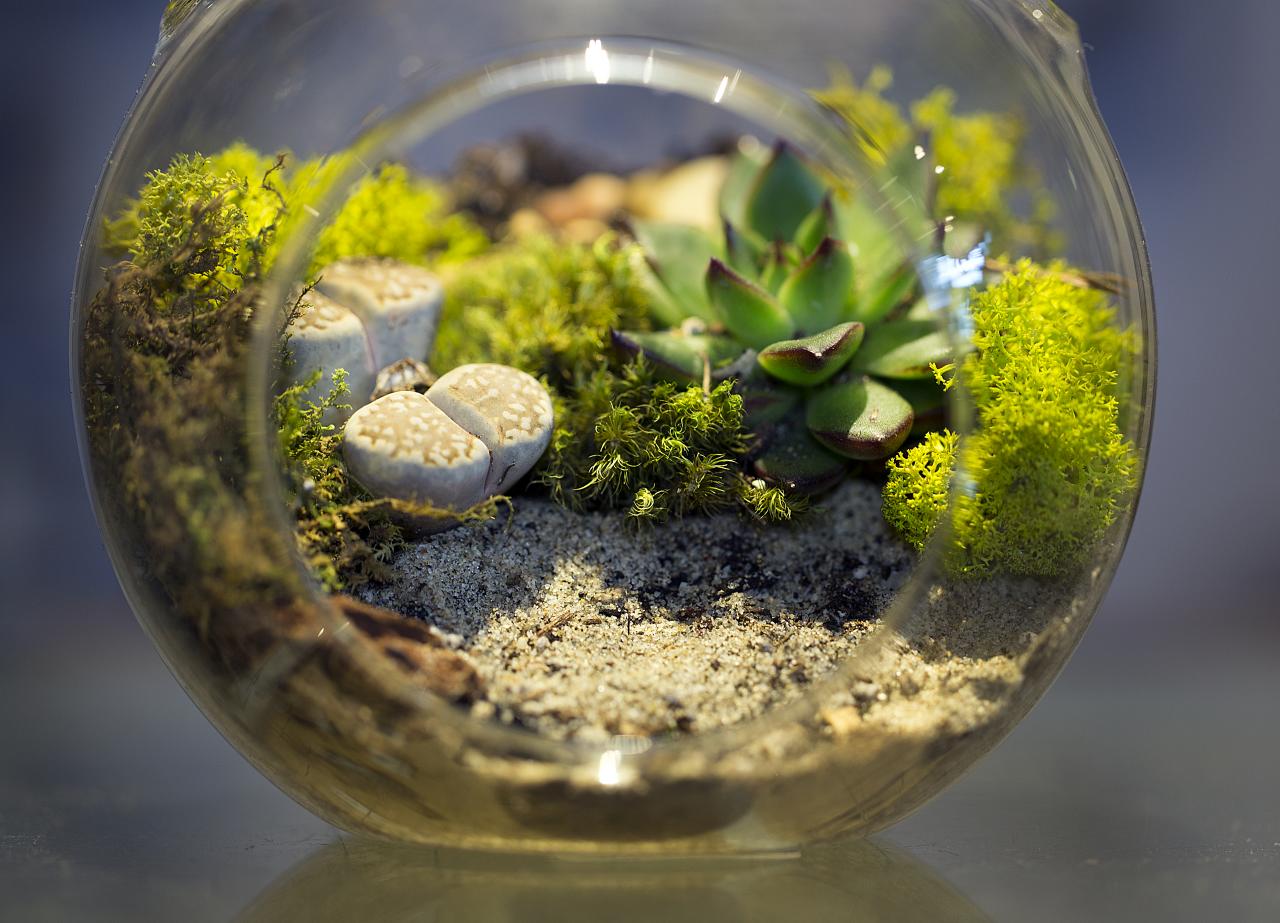
While not all terrariums are the same, with some being more self-sustaining than others, there is always a chance that you will craft one with a shelf life as long as the one discussed in this article. That terrarium, created by David Latimer, housed in an immense glass sphere, has been living for more than 50 years, watered only once in its long lifetime. Once you know exactly how it works (which will be discussed in-depth below), you will find that it is not quite as magical of a process as the amazing story linked above would suggest. It is simply a matter of careful preparation and implementation, and thus, making a terrarium is a fun and engaging activity for those who wish to test their scientific and engineering abilities. Crafting a terrarium is such an educational experience that I highly recommend you consider making one alongside your child. Not only will they learn a bit about how the world works, but they will do so by building something that will possibly last for decades, serving as a symbol of what they accomplished. Maybe it will even inspire them to work in a scientific field as an adult! How can you go about creating your own terrarium? Just follow the simple steps below!
1. What You Will Need:
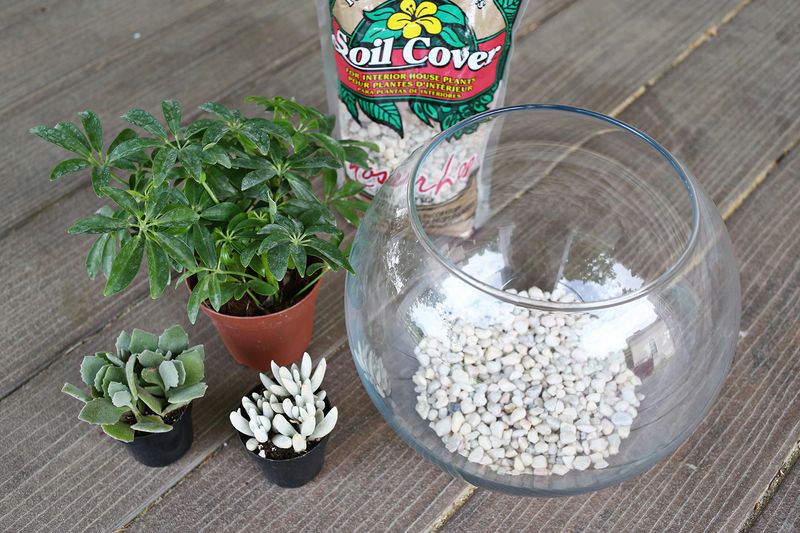
First, let us go over what you will need to go out and get before starting your project. – A tall and relatively wide container, preferably glass, with a lid. – A small bag of tiny rocks (around pebble sized). – Soil. – Activated charcoal. – A mix of plants that require a similar amount of water and light each. – Decorations. – A tiny shovel.
2. Pour The Rocks.
This should be a relatively thin layer, perhaps half an inch at most.
3. Cover The Rocks With Charcoal.
This layer needs to be around an inch thick.
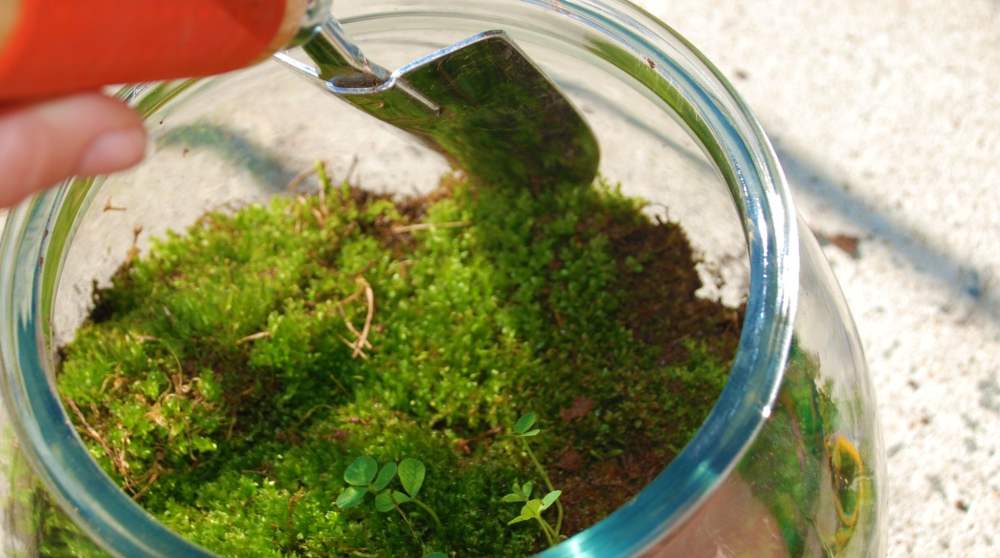
4. Place The Soil On Top.
Be sure to insert holes in the areas where you want to place your plants. Also, you do not need too much soil, as a four inch layer should be adequate if you are using a medium sized container.
5. Put The Plants In.
Carefully place your plants into their designated holes. Once they are in, fill in any parts of the holes that may still be visible with extra potting soil.
6. Apply Your Decorations.
If you have any decorations you want to place in the container, like stickers, or little figurines, now is the time.
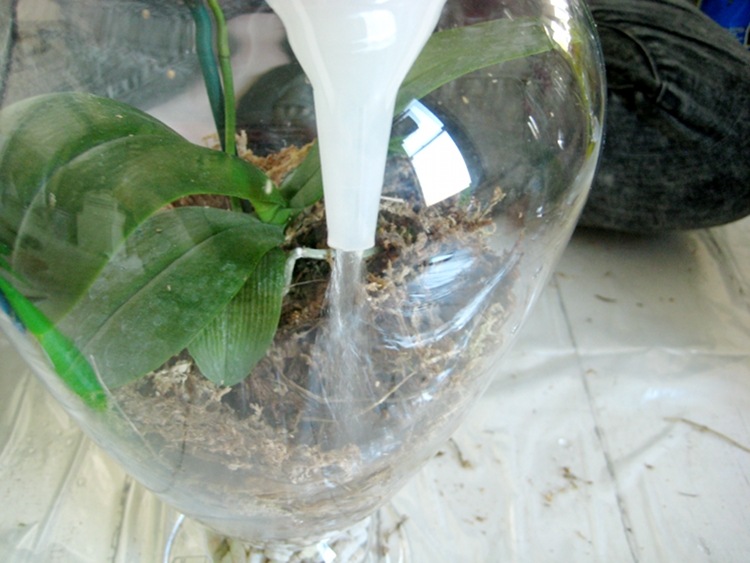
7. Lightly Water.
Get a small amount of water, and evenly pour it into the soil around your plants.
8. Move It To The Light.
Now you will want to close the terrarium, and place it in an area where your plants will get the proper amount of light. Do not place the terrarium in direct sunlight, as that will only serve to literally bake the plants within the enclosed container.
9. Watch It Grow.
Here is the fun part. All you have to do now is watch the terrarium maintain itself, and grow to fill the container you placed it in.
10. How It Works:
Now you may be wondering, what makes a terrarium possible? Why do you not have to maintain it at all? Well, it is because terrariums create their own water cycle. When light hits the terrarium, it heats up, causing water to evaporate and collect on the bottom of its lid. Once the container cools down again, the water drips back onto the plants, essentially serving as a miniature rainstorm. The only input a terrarium has is light, which feeds the plant through photosynthesis, allowing it to reuse the same water for (possibly) years at a time. While your terrarium may not last 53 years, it should have a good long life. And if all else fails, you can always open your terrarium and add more water or rearrange things, if necessary. Have you made a terrarium before, or worked on one with your kids? How long did it last? What did you think of the experience? Did your kids learn something? Comment below! Featured photo credit: Terrarium/Erin via flickr.com


